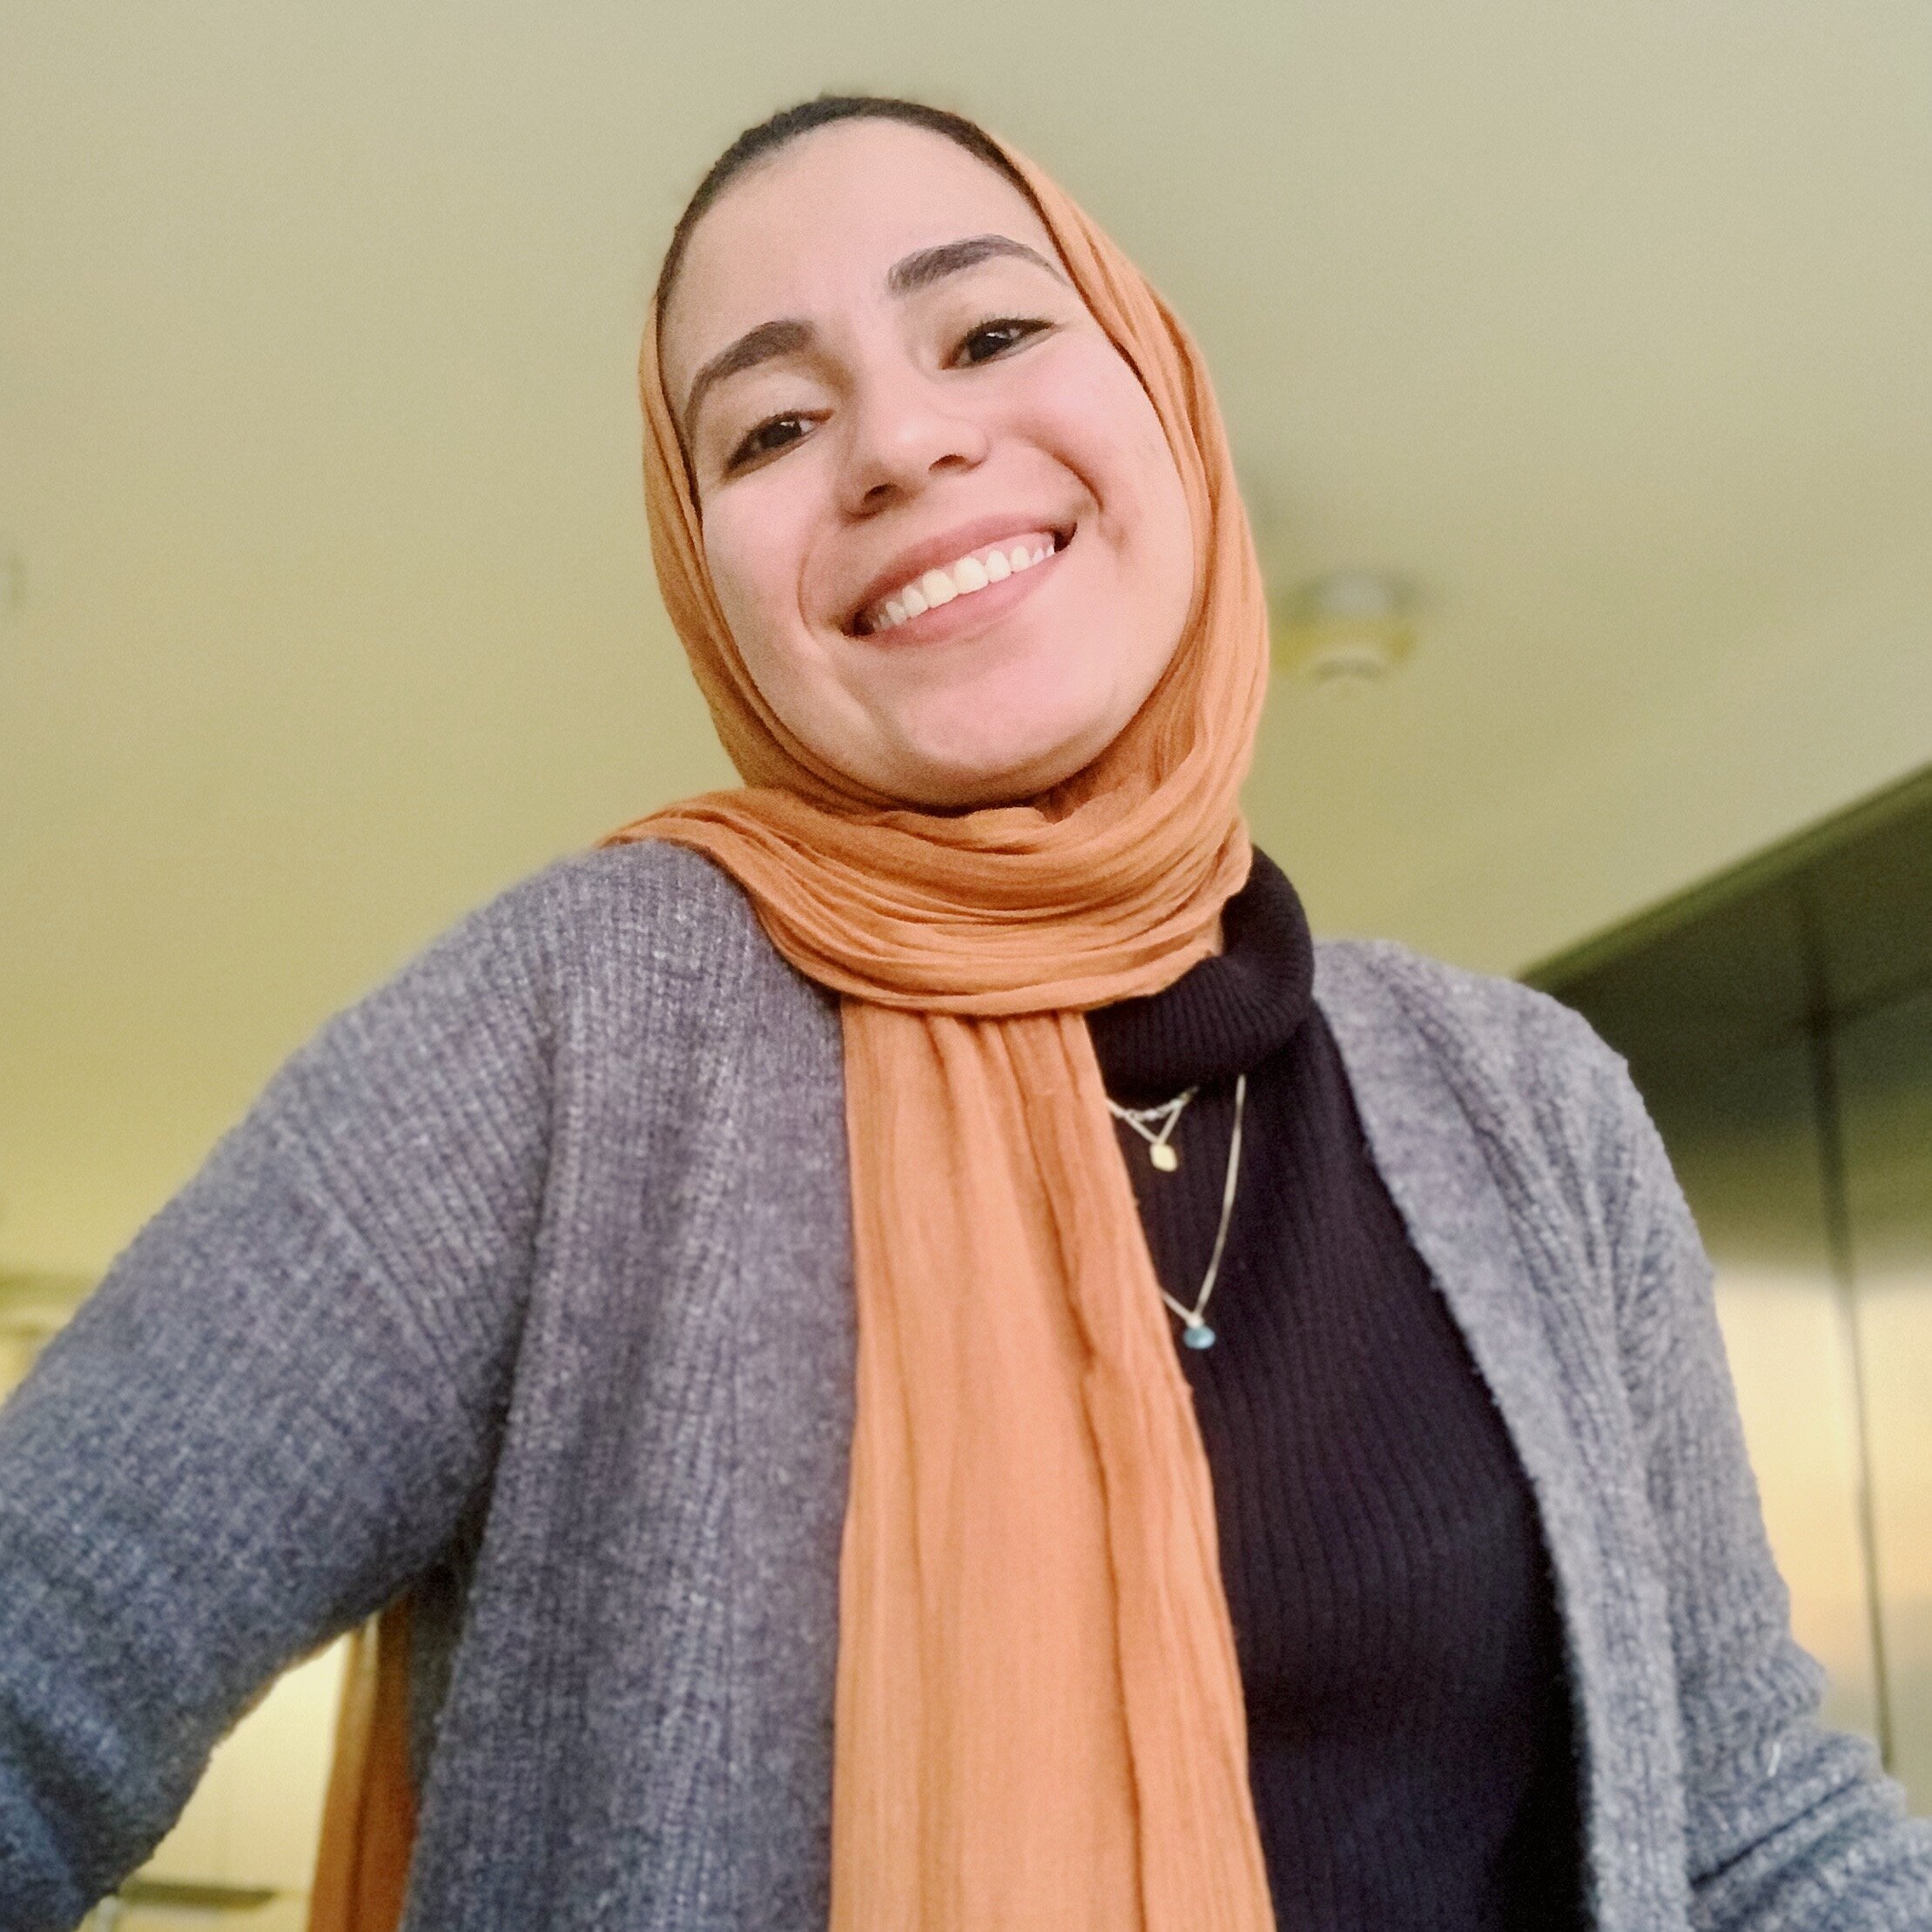
NADA ELSAYED
Mandalas
Portrait courtesy of Nada Elsayed.
Bachelor of Architecture ‘22 student at The City College of New York.
Home Mandala (Acrylic on Mixed Media Paper). Image courtesy of Nada Elsayed.
Inspiration
What inspired you to pursue embroidery?
I have always enjoyed drawing since I was a kid, but stopped when I was a teenager and moved to NYC. What really brought back my inspiration to create again was my art teacher in high school, Ms. Jane Lawrence (@janekanglawrence). She is motivational and her enthusiasm is one of a kind. She would always let me create whatever I want in class and during free periods. I was so inspired by Islamic geometry at the time but did not like the rigidity of it so I tried drawing mandalas instead which was more of a “free hand” type of drawings, not too precise. From there I was inspired by many more mandala artists on social media, watched a ton of YouTube videos and practiced daily. Then I entered the ArtsConnection, visual arts competition, in my junior and senior year and my work was selected and exhibited both times.
And that just skyrocketed my motivation!
Home Mandalas (Sharpies Set). Image courtesy of Nada Elsayed.
Time Management
How did you manage to maintain your time?
The truth is I had way more time to draw mandalas in high school. Since being in architecture school, I usually draw mandalas in the summer and during the winter break. But I worked on two mandalas in between classes and it was super therapeutic! Mandalas require so much patience and practice, but they are a huge stress reliever. They could be used as a tool of therapy, meditation or simply relaxation!
Process
What are the bases to start embroidery?
Below are a list of tools to get started:
Pencil
Eraser
Compass
Protractor
Ruler
Watercolor
Acrylic Paint Brushes (optional)
Faber-Castell Pitt Artist or Micron Ink Pens in Black
Strathmore Mixed Media Drawing Pad
Sharpies
Winsor and Newton Cotman Watercolors
Liquid Indian Ink
Galeria Acrylic Sets'
Classic Gold & Silver Liquid Leaf Leafing Paint
Liquid Pearls Paint
Helix Precision 5 Piece Compass Set
Plaid, Classic Gold 6110: Craft Liquid One Step Leafing Paint
Faber-Castell Pitt Artists Pens
Mandala Tutorial. Image courtesy of Nada Elsayed.
In Progress. Image courtesy of Nada Elsayed.
Under the Skies. Image courtesy of Nada Elsayed.
Under the Skies. Image courtesy of Nada Elsayed.
Want to #Mandala? Follow These Steps!
Using your compass and pencil, draw out the circles. Some people measure the distance between their circles but I don’t. This makes each mandala that I draw totally different and unique.
Draw a vertical and horizontal line. Then use your protractor to mark out the 10º (or 45º) marks between your vertical and horizontal lines.
Connect your marks through the center line all the way across your circle. This will divide your circle into 36 equal sections because we marked it every 10º.
Start drawing your pattern, working from the inside out. I started with a simple pattern.
Keep drawing different patterns until you outline the entire circle.
Go back to the center and start detailing your pattern, work from the inside out. Fill in the blank spaces with more patterns and designs. Shading in and leaving some areas blank can create a nice contrast.
Add different line weights! from a 0.1 mm pen to a 0.7mm. Keep on adding layers of different patterns until you’re happy with how your mandala looks. And then you’re done!
It was a good stress reliever, wasn’t it? :)


